
Occasionally, it is necessary to TFTP firmware to a FortiGate. Sometimes it is at the request of Fortinet TAC, sometimes it is because you acquired a FortiGate second-hand and sometimes you just want a blank slate to start from on the firewall. Whatever the reason, it is important to know how to quickly (and even more importantly, correctly) overwrite the boot partition on the FortiGate via TFTP as it is one of the best ways to guarantee that there is a clean copy of the firmware on the drive.
Below is a comprehensive guide on how to TFTP FortiOS 5.6.7 on a FortiGate 60E.
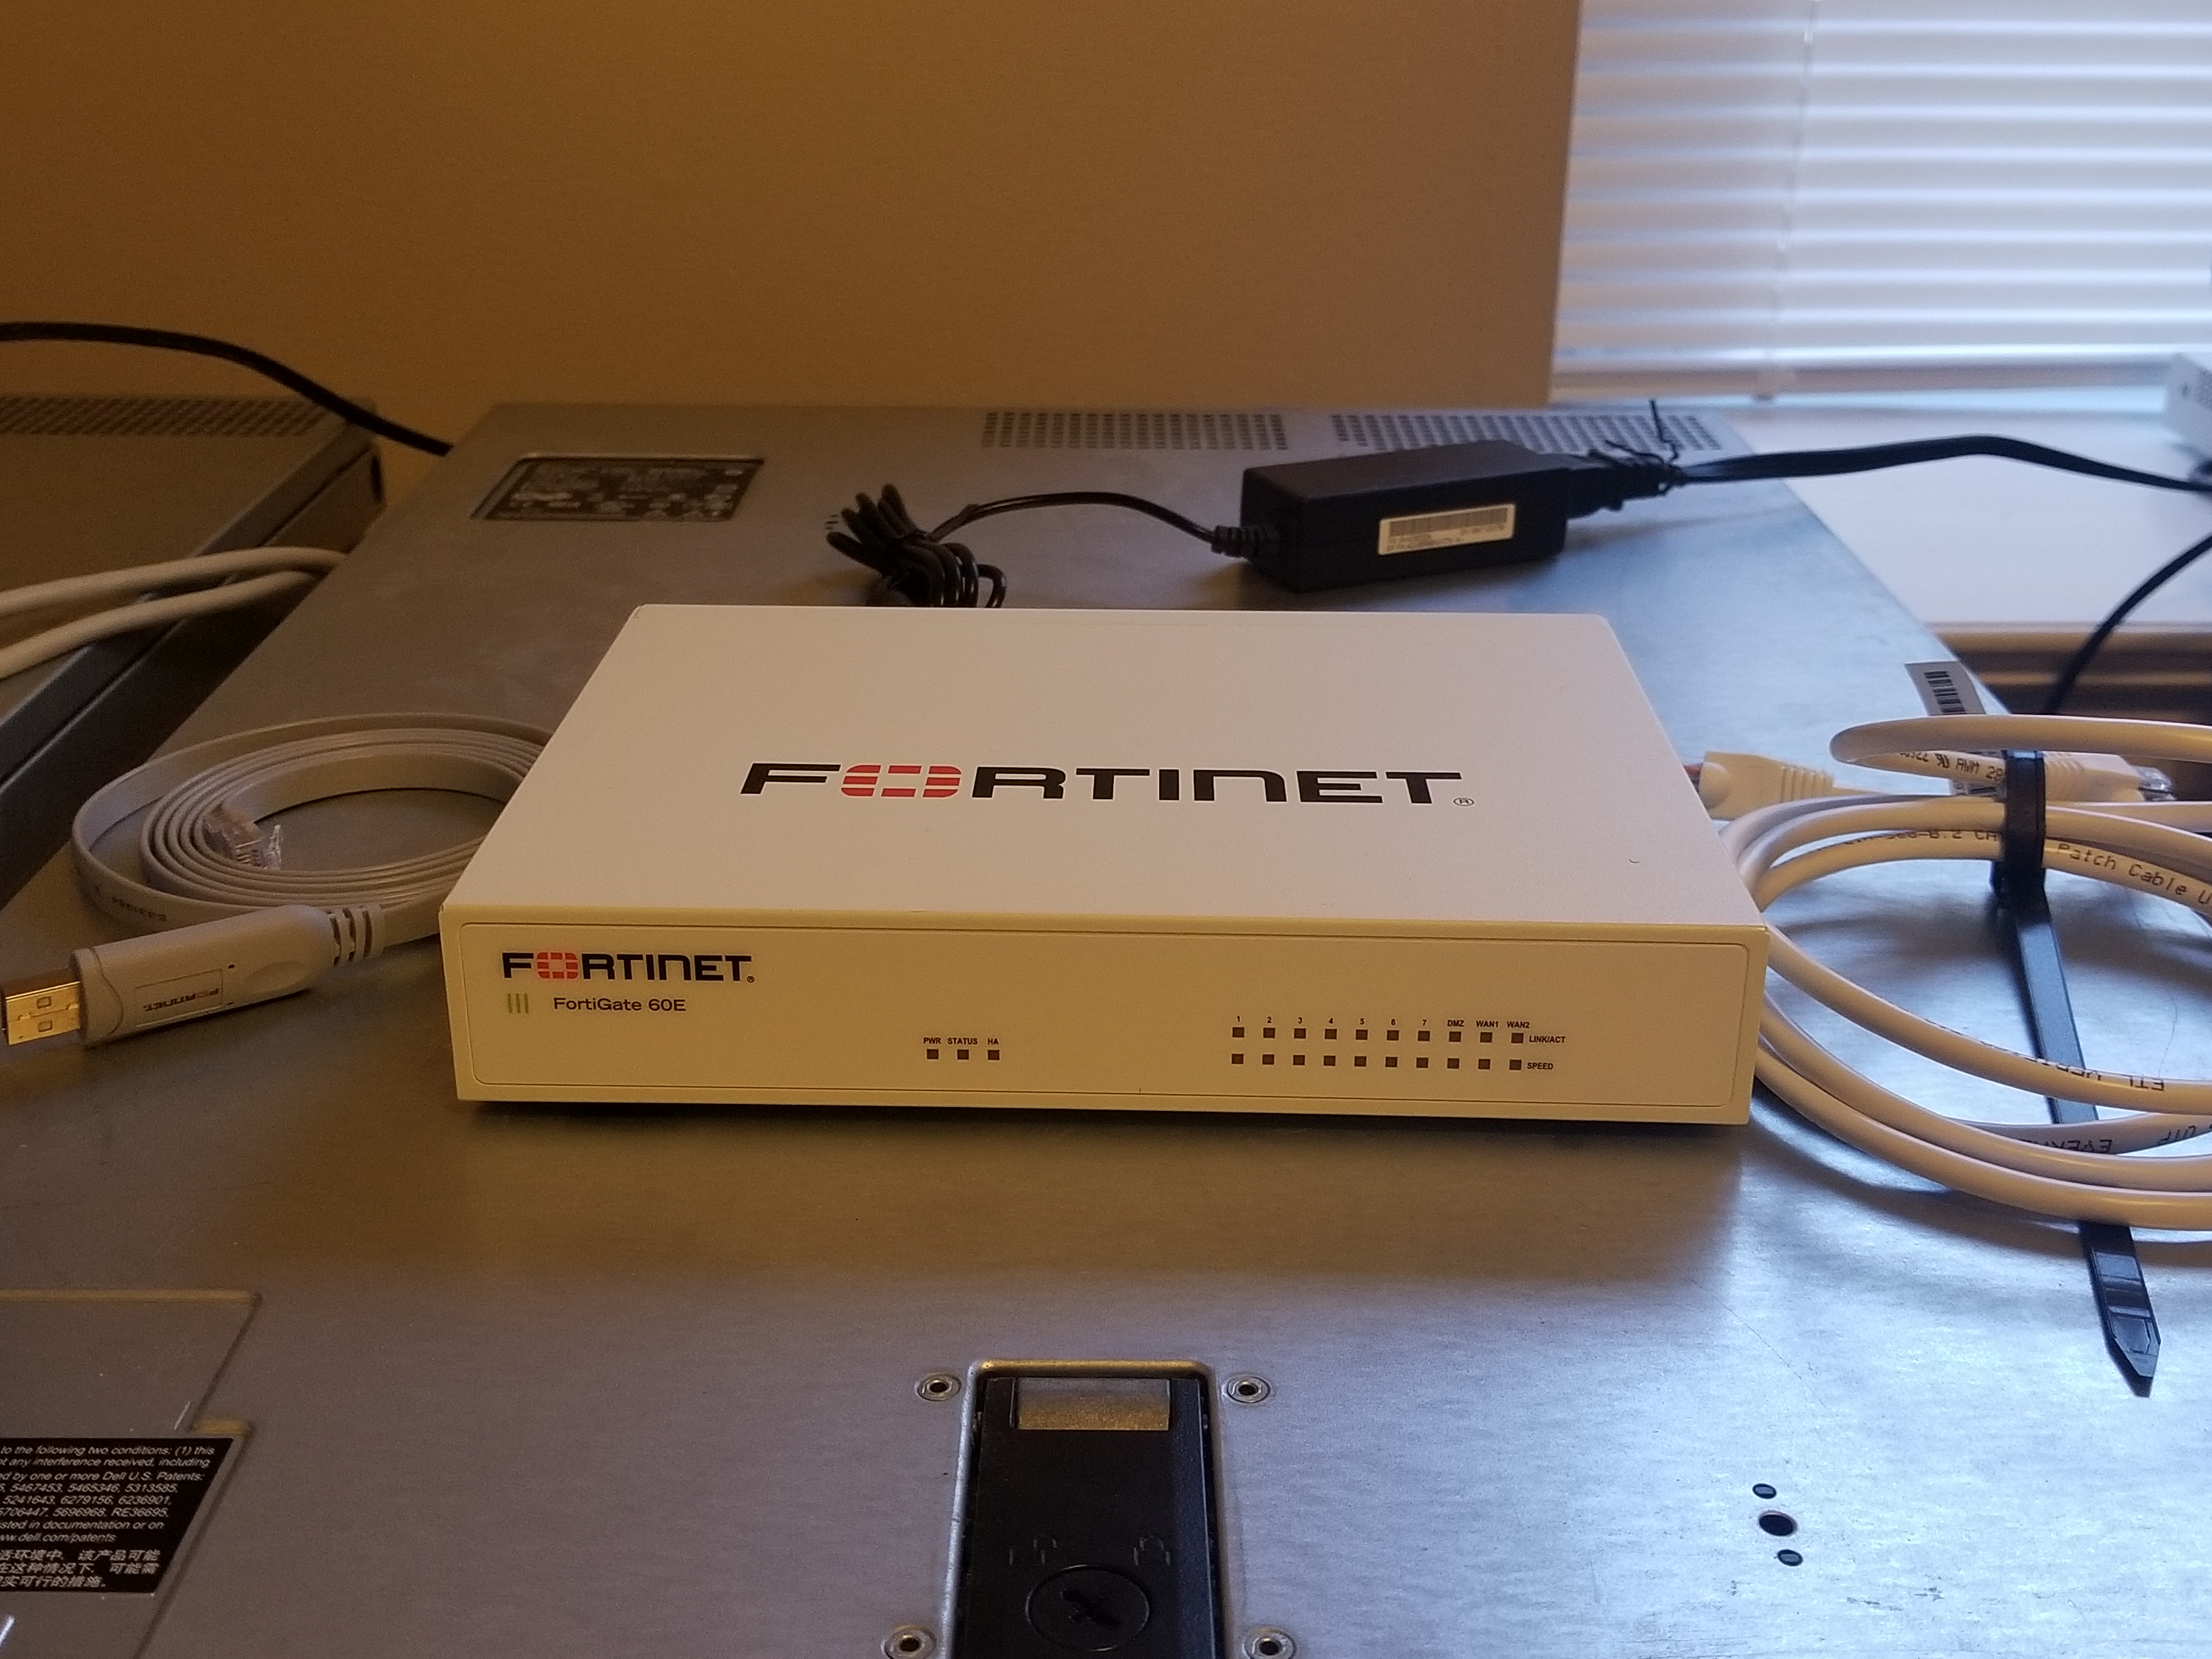
Equipment needed
You will need to have the following equipment:
- Laptop/Destkop with USB port or Serial and Ethernet port
- Console Cable
- USB-To-Serial cable
- Ethernet Cable
- FortiGate 60E
Software needed
You will need to have the following software:
Preparing the TFTP Server
There are many different options for TFTP servers, however I have found that the simplest server to use is TFTPD32 on Windows 10. This program runs natively in Windows and is fully configurable from a GUI that is simple to set up. To configure this, do the following:
Download Required Software
1.Download and install PuTTy
2.Download and install TFTPD32
3.Download valid FortiOS (FortiGate) firmware *requires valid support subscription*

Configure Ethernet Adapter on TFTP Server
1.In Windows 10, click “Start” | Type “Control Panel” | Select “Control Panel”

2.Under “Network and Internet” | Click “View network status and tasks”

3.Click “Change adapter settings”

4.Right click on the ‘Ethernet Adapter” | Click “Properties”

5.Click “Internet Protocol Version 4 (TCP/IPv4)” | Click “Properties”

6. Under the “Internet Protocol Version 4” properties, set the following settings:

7. Press “OK” and save the remainder of the settings
Configure TFTPD Settings
1.Launch TFTPD32 | Confirm the Interface is recognized from the “Server Interfaces” drop down

2.Click “Browse” | Select the folder where the firmware resides | Click “OK”

3.Go to the directory where the firmware file exists and rename it to “image.out”


4.Once renamed, press “Show Dir” in TFTPD32 to confirm it displays the correct name of the file

Configure Terminal (PuTTy) Settings
1.Identify the port used for console via the “Device Manager”

2.In PuTTy, set the “Connection Type” to “Serial” | Set the “Serial Line” to the COM port referenced under “Device Manager”

3.Under “Category | Connection | Serial” make sure the following settings are configured

4.Press “Open” to configure PuTTy to start listening for data from the FortiGate serial port
Connecting the FortiGate to the TFTP Server
1.Connect the TFTP Server to the FortiGate WAN1 via Ethernet and FortiGate Console port via the serial port

2.Connect power to the FortiGate
3.When the “Please wait for OS to boot…” message appears | Press the “spacebar” on the keyboard

4.Once the bootloader menu loads, press “R” to see the current FortiGate bootloader TFTP settings
Notice: These settings reflect the configuration we specified for the TFTP Server earlier in this article.

5.Press “T” to initiate the firmware transfer via TFTP

6.Note that the “#” will be displayed as a progress bar as the firmware is transferred from the TFTP server


7.Once the transfer has completed, press “D” to save the firmware into the default partition
Notice: “.” will display to indicate status while the device is being programmed

8.After programming is complete and maintenance for boot partition has completed, log in with the default username/password

9. Confirm that the FortiGate has been updated by executing the following command:
get system status
At this point, the FortiGate has been successfully flashed with firmware via TFTP.
Great post. You can replace putty +TFTPD32 by just Mobaxterm (which is also available as portable software)
Great post! The only thing that got me was setting the correct NIC in TFTPD32 under [TFTP] -> “Bind TFTP to this address” (as I had multiple NICs on my computer). I had to set it to the one that is connected to the WAN port on the FortiGate. After that, everything else worked as per your instructions so much appreciate you taking the time to write this up and sharing it.